.JPG)
How many times have you seen a person walking around with a spray tan and their makeup didn't help their case? Often; I know. And if you haven't seen someone like this, just google pics of spray tans and you will see what I am referring to. However, the goal of this post is to hopefully spare you from being seen as one of "those people with a spray tan" if you know what I mean. By using light shades and simple application techniques, you can master how to apply a full face of makeup without being of the "fake bake" people. So on that note, let us begin!

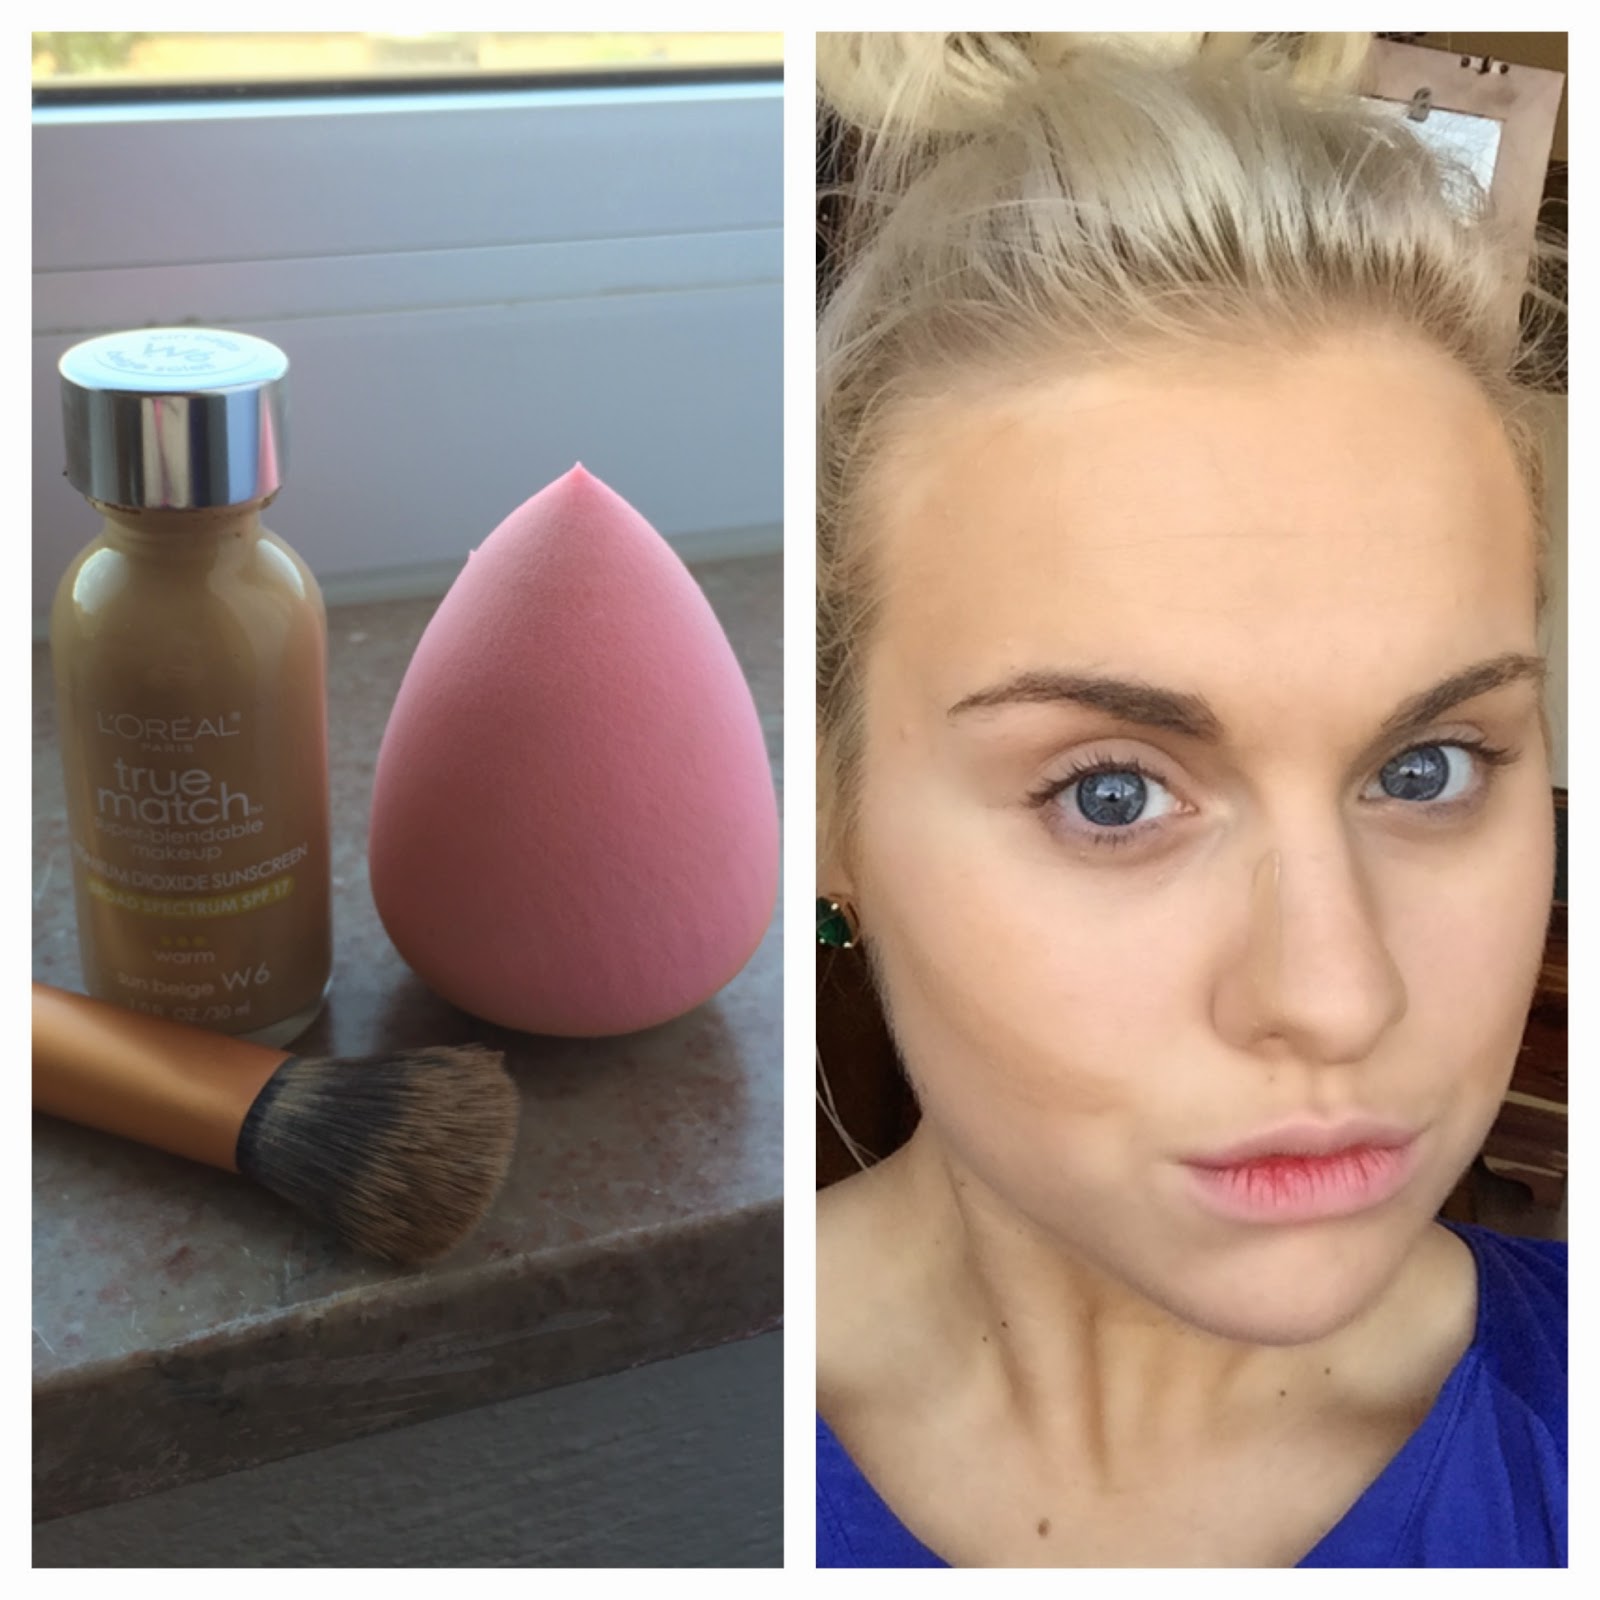
So as always, I post a picture of myself without any makeup on. As you can see in this picture, I have a light spray tan and my face is much lighter than my neck and collar bone area.

If you have one of these little pink things, it will help you tremendously! This is called a Beauty Blender and it is my new favorite way to blend my makeup! They can be purchased just about everywhere and personally, I ordered a 5 pack off of Amazon.com. But, if you do not have one, then using a brush to blend will work, of course.

These will be the products I use today to create my spray tan makeup look. NYX is my favorite brand of makeup at the moment; however, True Match by L'oreal matches my skin best I have discovered. From right to left, this is what we will be using: foundation, liquid contour, blush, setting powder, eyebrow powder, eye shadows, finishing spray, mascara, lipstick, and last but not least, lip gloss.

Step 1: Applying Foundation
Using a foundation brush, I applied foundation to my cheeks, forehead, nose and chin.

Then, using my beauty blender, I blended the various foundation applications to give my face a smooth foundation that matched the spray tan on my neck and collar bone area.
Step 2: Contour
I use a liquid contour when I have a spray tan because I just prefer it over powder. When choosing a contour shade, you typically want to go 2 to 3 shades darker than your skin tone. 2 shades darker will create a beautiful contrast and 3 shades darker will create a bolder contour. For this makeup look however, I only went 1 shade darker for my contour because we are trying to give a natural twist to a skin shade that is not natural to us. So using my same foundation brush, I applied liquid contour to my cheekbones, sides of my nose, jawline, temples and across the top of my forehead.

Using the beauty blender, I blended out the liquid contour. The objective of the liquid contour is to give depth to your cheekbones, slim the nose, thin out the jawline, and give my forehead a smaller appearance. But remember, those are the parts of my face that I contour. You may be different. You may like how your jawline appears and feel no need to contour it. Or, you may be happy with your forehead and don't want to contour it. Great! But I don't have a forehead, I have fivehead, so I do.

Step 3: Blush
Because we are trying to make a spray tan look natural, I like to use a peachy red blush color. I do this because blush is used to assist the contour and bring more depth to the cheekbones and since we already use a darker color for the contour, using a bronze blush or pink blush washes out the contour you have just applied. At least that has been my experience.

So using a blush brush, you want to apply your blush to the apples of your cheeks. That is, if you look in the mirror and smile, it's the part of your cheeks that puff out so to speak. I know that is a terrible description and I am sorry, but you know what I mean. :)

Step 4: Finishing Powder
Because we are finished with the face part and ready to move on to the eyebrows, using a finishing powder will help set your foundation, contour, and blush that you have applied. Apply the finishing powder by using a powder brush.

Step 5: Eyebrows
Here I am using the NYX blonde eyebrow set. Because with this look I do not want my eyebrows to be too strong, I simply filled them in using the darker shade to the left in the picture above.

Step 6: Eye Shadow
The eye shadow pallet I love to death is NYX Love in Paris, Parisian Chic. I wish the names of the shadows were printed on the back, but they are not; so I will direct you to which shade I am using. As far as brushes, I use 3 when I apply my eye shadow. One for the lighter shades, one for the darker shades, and then one to blend with. In the picture above, the fatter brush of the 3 is the one I use to blend with. The other two brushes are my light and dark shadow brushes. I am going to use very neutral brown shadows for this look so that I do not make my eyes to strong and over power the tan.

So to begin with the eye shadow, I apply a base shade all over my lid that will also serve as the shade for my shadow directly under my eyebrow. In the picture on the left, I have applied the very middle brown eye shadow to my right eye (left in the picture). In the picture on the right, I have the middle brown applied to both eyes and I have used the sparkly brown directly to the right of the middle brown in the pallet to serve as the color for my eyelid and is applied on my right eye (left in the picture). As you can see, these are light colors and so the darker you want them, the thicker you can pack on the powder to your lid.

Here, in the picture on the left, I have applied the sparkly brown mentioned above to the eyelid of my left eye (right eye in the picture). On the right eye (left eye in the same picture) I applied the dark sparkly brown (top right corner shade in the pallet) to the crease of my eye. It is not really important for you to apply this neatly because soon you will be blending it with the blending eye shadow brush. In the picture on the right, I have applied the dark sparkly brown to both eyes and on my right eye (left in the picture) I have applied the dark sparkly brown to my bottom lid every so lightly.

Above in the picture on the right, I have applied the dark sparkly brown to my left eye (right in the picture). Then, using my blending eye shadow brush, I blended the dark sparkly brown I applied to my crease. In the picture on the right, both eyes have been blended using the blending eye shadow brush.

Step 7: Matte Finishing Spray
This is the NYX matte finishing spray and it locks in your makeup and keeps a matte finish to your face so that you don't look oily. What you will do is simply spray the finishing spray all over your face. But make sure you just mist your face, you don't want your face to be dripping wet.

Step 8: Mascara
Here I used the NYX BMC04 Faux Lashes Luscious Volume Mascara. Add as much mascara as you'd like but don't apply so much that your eyelashes clump together. That is not cute and defeats the whole look. :)

Step 9: Lips
In the top picture, I applied the NYX Butter Lipstick in Hubba Bubba. In the bottom picture, I applied the NYX Mega Shine Lip Gloss in Nude Pink on top of the butter lipstick.
And there you have it! How to apply a full face of makeup with a spray tan and not look fake! BUT, if you would like to take this look a little further, why not add some eyelashes?! If you would like to add lashes, scroll down! :)

Eyelashes!
What you will need: a pair of eyelashes and glue. I use tweezers as well because I feel like I can maneuver my eyelash strip better using them than using my finger alone. The glue of my preference is DUO eyelash adhesive in white/clear. It goes on white and it dries clear! So even if you accidentally get glue on your eyelid, let it dry for a second and nobody will ever know! So in the bottom picture, I have lined a strip of eyelashes with glue. ALWAYS let the glue sit for about 20 to 30 seconds on the strip because that allows time for the glue to become tacky so that when you apply the strip, it won't slide around.

I like to hold my lashed upside down first before placing them just to make sure I get them as close to my lash line as possible. In the picture on the right you can see I have the strip in place and you can see where the glue is white and will dry clear.

Above shows the strip I glued on dry and as you can see, you cannot see the glue you could in the previous picture. On the right you will see my baby girl, Indie Marie, who fell asleep while I was putting on this makeup and so I thought I would share her with you because she is just too adorable!

In the picture on the left, I have applied eyelashes to both eyes. Picture on the right is just sass.
Thank you all, I love you guys!! I hope this gave you some ideas for makeup to do when you have a spray tan. Until next time! XOXO